
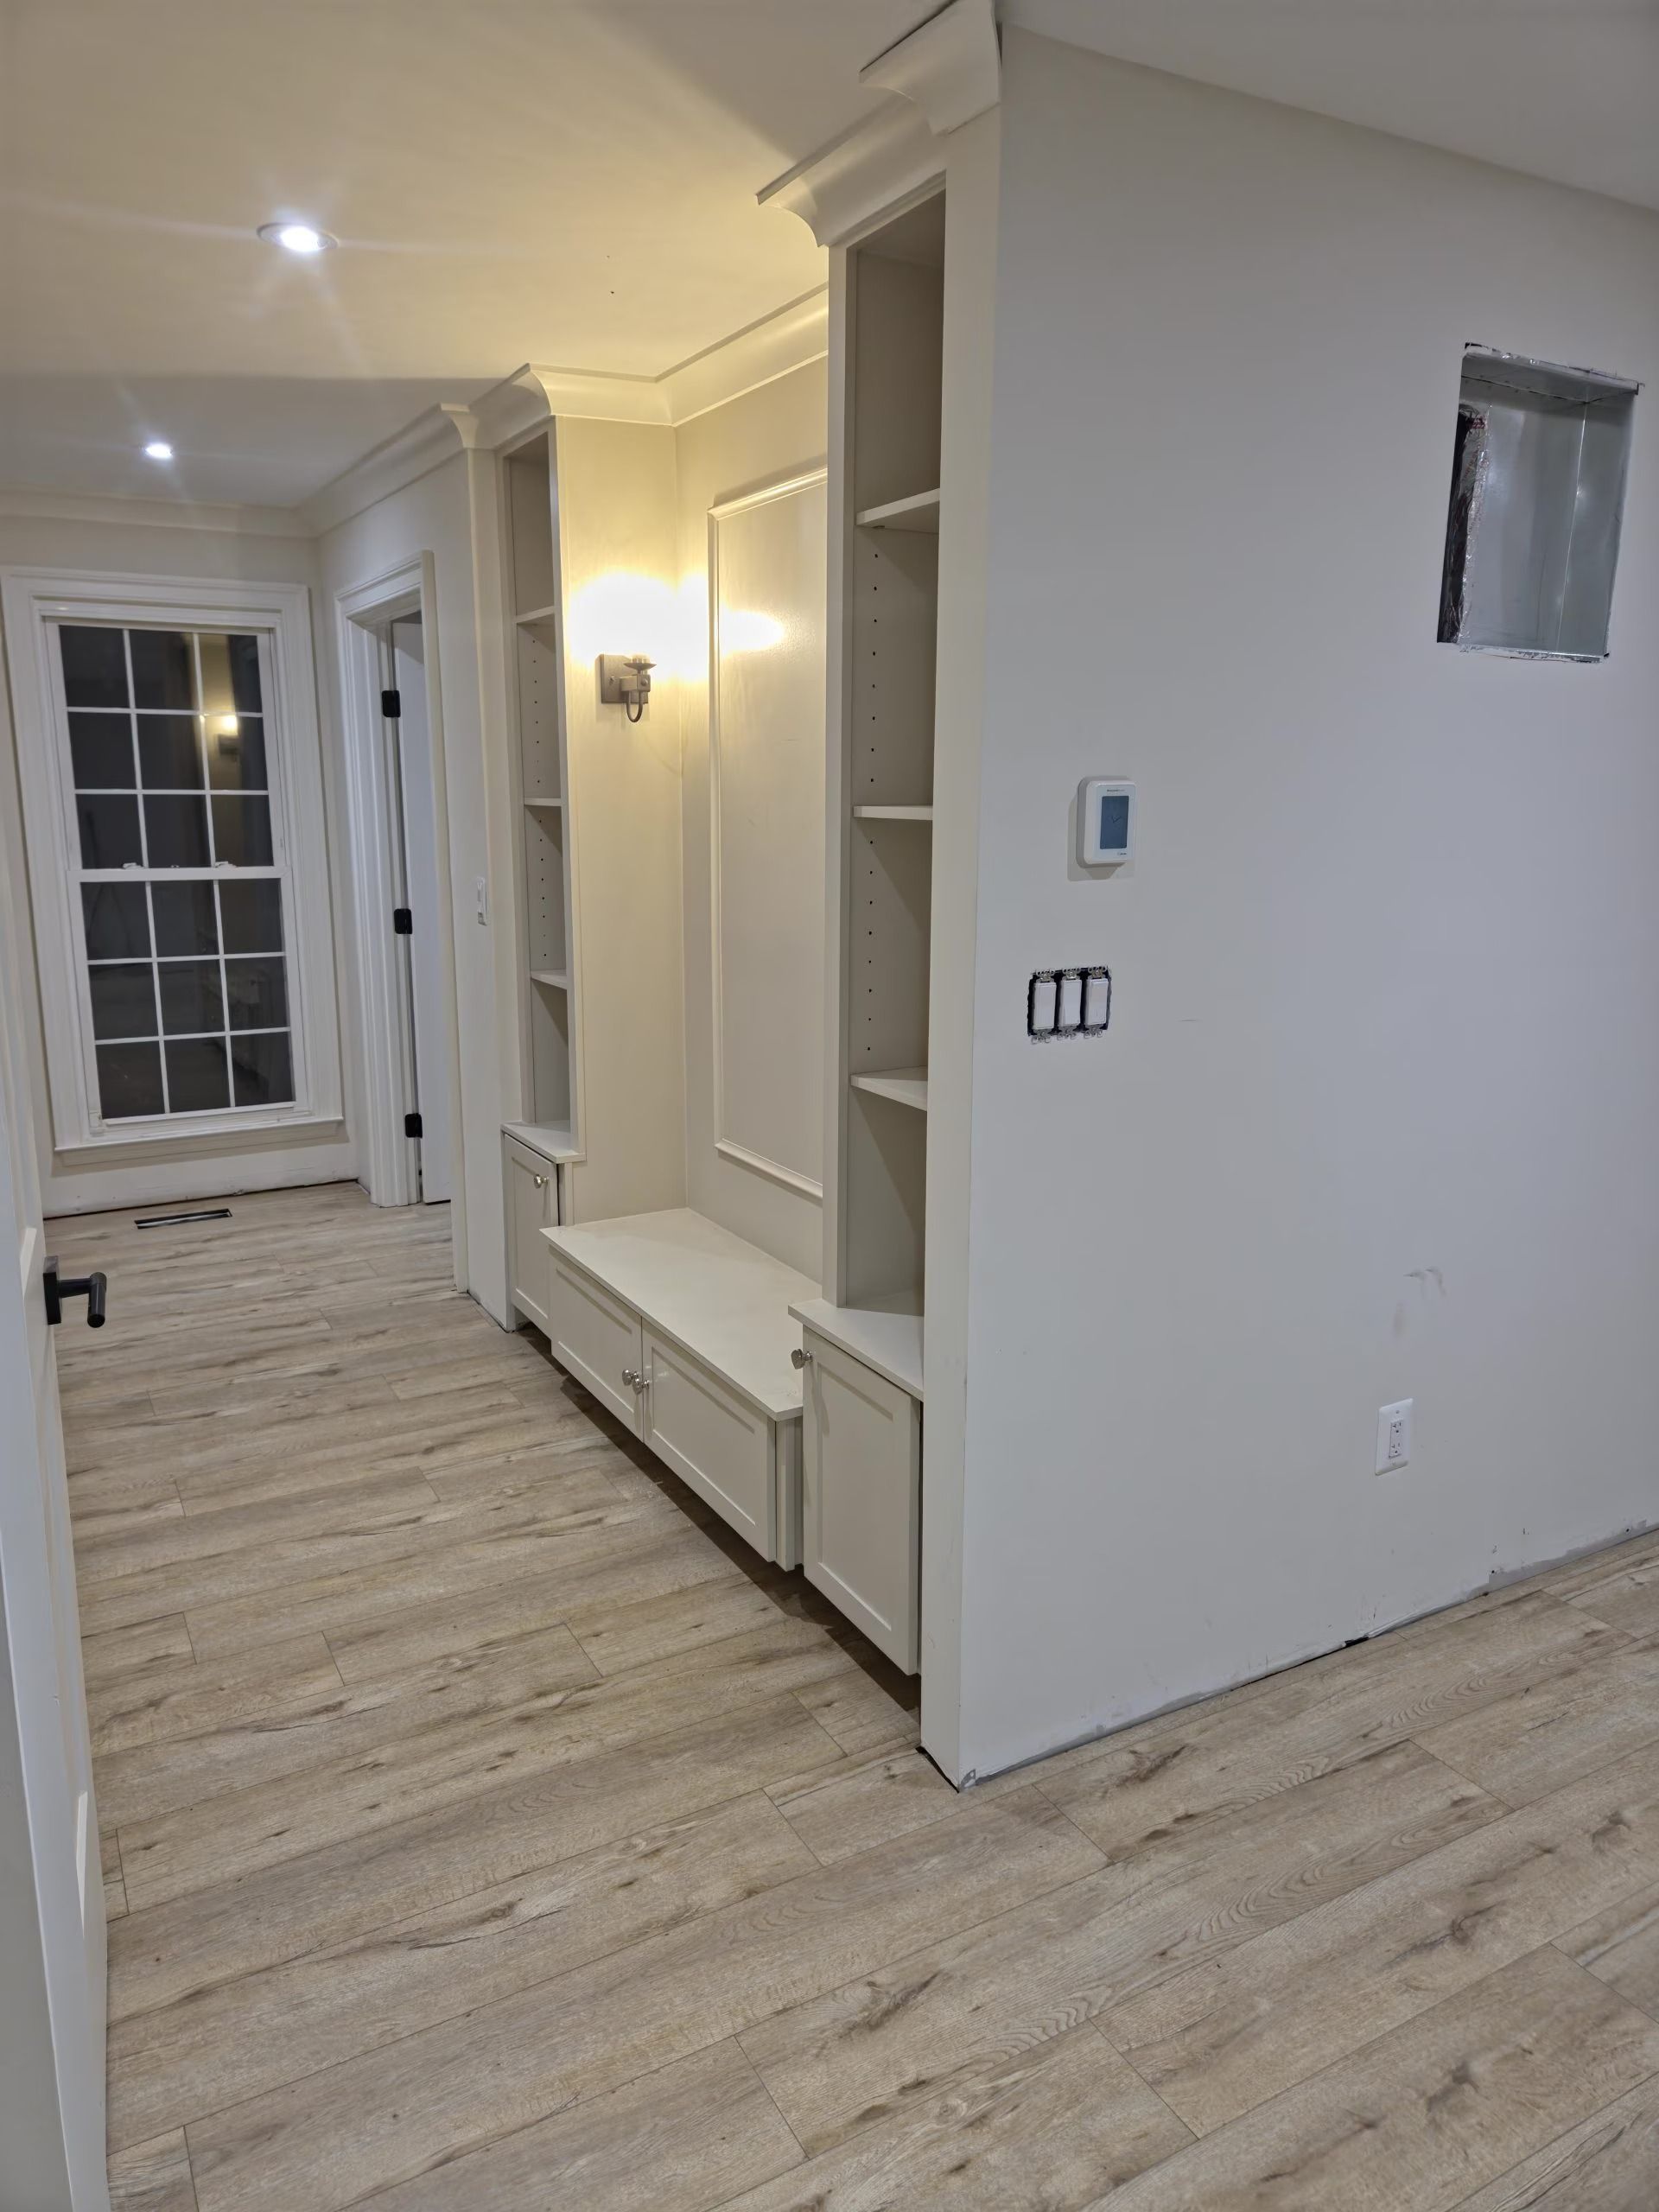
Subfloor Conditions Resolved Before Any Material Goes Down
Flooring installation and refinishing in Alexandria for homes where settled subfloors, uneven surfaces, or worn hardwood require preparation before new material can be properly laid
A finished floor is only as stable as what's underneath it. In Alexandria's older housing stock—where decades of settling, previous water events, and layered renovation work are common—subfloor conditions vary significantly from room to room and sometimes from one side of a room to the other. Omega General Contractors begins every flooring project with a subfloor inspection and repair phase, addressing moisture, unevenness, or structural damage before installation starts. That sequence protects the finished material from the movement and adhesion failures that appear months later when prep is skipped to save time.
In neighborhoods like Braddock Heights, where homes from the mid-twentieth century sit on subfloor assemblies that have experienced decades of load and occasional moisture intrusion, laying hardwood or tile directly over an unaddressed subfloor produces results that are visible within a single heating season: cupping hardwood, cracked grout lines, and laminate seams that lift at the edges. Omega handles everything from subfloor prep through final sealing, so the finished floor is structurally sound rather than cosmetically correct over a compromised base.
Arrange a flooring assessment to review the current condition of your subfloor and identify what preparation is required before new material can be installed correctly.
What Proper Flooring Preparation Actually Requires
Subfloor preparation begins with identifying the type and extent of the problem: high spots are planed or sanded, low spots are filled with floor-leveling compound allowed to cure fully before installation begins, and any sections with soft spots, rot, or delamination are cut out and replaced with new sheathing fastened to the joist structure below. For tile installation, a cement backer board is installed over the prepared subfloor and fastened to the framing at the correct fastener spacing—not stapled through the sheathing—because tile requires a substrate that will not flex under foot traffic. Hardwood fastening is then nailed or stapled through the tongue at the appropriate angle so no face fasteners are visible in the finished floor.
Once installation is complete and adhesives or fasteners have cured, hardwood floors are sanded in progressive grits—starting with a coarser cut to level any height variation between boards and finishing with finer passes before stain or sealer is applied. What clients see when the work is finished is a floor surface that reads flat under raking light, with consistent board spacing, grout lines that are fully filled without voids, and a seal coat that sits uniformly across the surface rather than showing dry spots or applicator marks.
Refinishing existing hardwood follows a different sequence than new installation but the same preparation logic applies: floors are inspected for loose boards, protruding fasteners, and areas too thin from previous sanding to hold another cut before any sanding begins. Attempting to refinish a floor that is already at minimum thickness produces burn-through at the edges and drum marks that show through the finish coat.
Common Questions About Flooring Installation and Refinishing
The questions below address how flooring work is planned and executed, including the subfloor conditions frequently encountered in Alexandria's older residential properties and what they mean for how the project is sequenced.
How is a subfloor assessed before new flooring is installed?
The assessment involves walking the full floor area with weight on a straight board to identify flex points, checking with a long straightedge to find high and low spots exceeding an industry-standard tolerance of three-sixteenths of an inch over ten feet, and probing any discolored or soft areas with a moisture meter to confirm whether previous water events have compromised the sheathing.
What causes hardwood floors to cup after installation and how is it prevented?
Cupping occurs when the bottom face of a board absorbs more moisture than the top, causing the edges to rise, and is prevented by confirming that the subfloor's moisture content is within two percent of the hardwood's acclimated moisture content before any fastening begins—a measurement that requires a calibrated meter, not a visual inspection.
Why does tile grout crack along the field rather than just at perimeter transitions?
Field cracking is almost always a subfloor deflection problem rather than a grout product failure: if the floor assembly deflects more than the tile industry standard of L/360 under load, the tile itself does not flex and the grout joint absorbs the movement until it fractures.
How many times can hardwood flooring be refinished before it needs to be replaced?
The usable life for refinishing depends on the thickness of the wear layer above the tongue, which in solid three-quarter-inch hardwood typically allows three to five refinishing cycles—but in Alexandria's older homes where previous refinishing work was done without thickness checks, many floors are already at or near minimum thickness and require inspection before another cut is started.
What is the correct acclimation process for hardwood before installation?
Hardwood should be stored in the room where it will be installed for a minimum of three days—and up to two weeks for wide-plank stock—so the boards reach the same equilibrium moisture content as the surrounding structure, which minimizes gapping or crowning that develops after installation when the material adjusts to the room's conditions.
Omega General Contractors also installs and refinishes flooring in Reston, Arlington, Falls Church, Fairfax, and Annandale. To move forward with your Alexandria flooring project, call Omega General Contractors at (571) 215-0528 and schedule a subfloor assessment before selecting materials so the preparation scope is understood from the start.